Indigo Buttons

I’ve been putting together a quilt of sorts, it’s made from pieces of my shibori indigo dyed cloth and is backed with a very soft, fleece-like fabric. To keep the two layers together I thought I’d use buttons.

I have quite a stash of buttons, so I played around with some different ideas.

buttonplay

IMG_0133.jpg

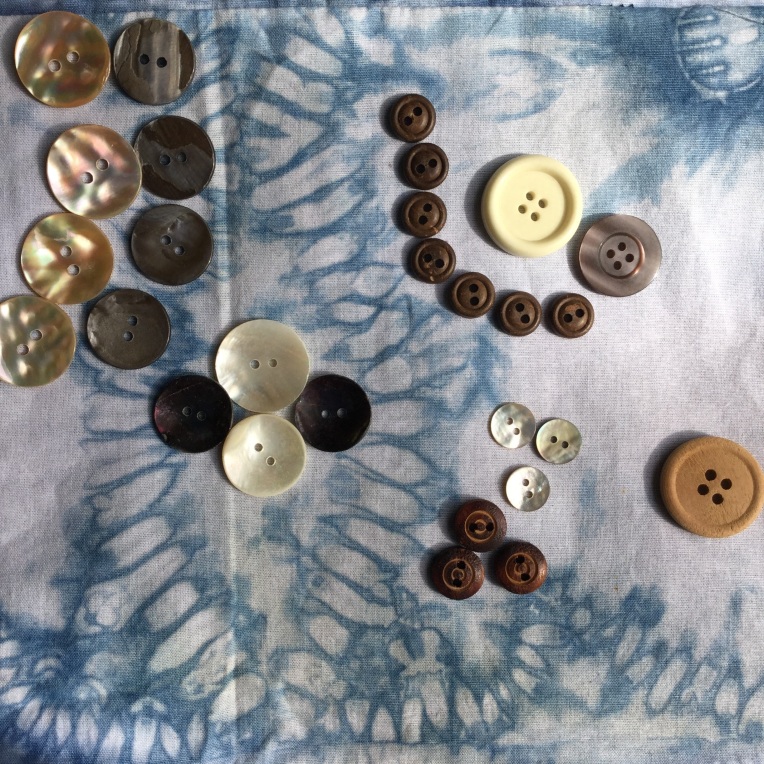
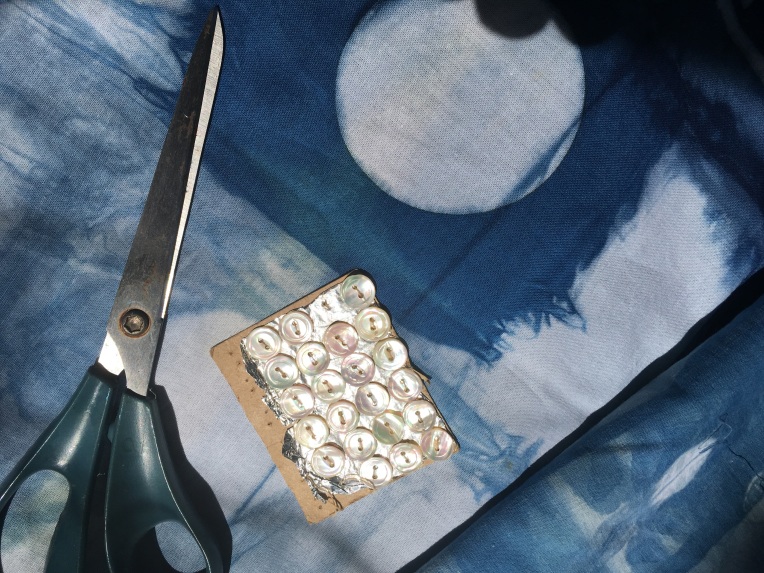
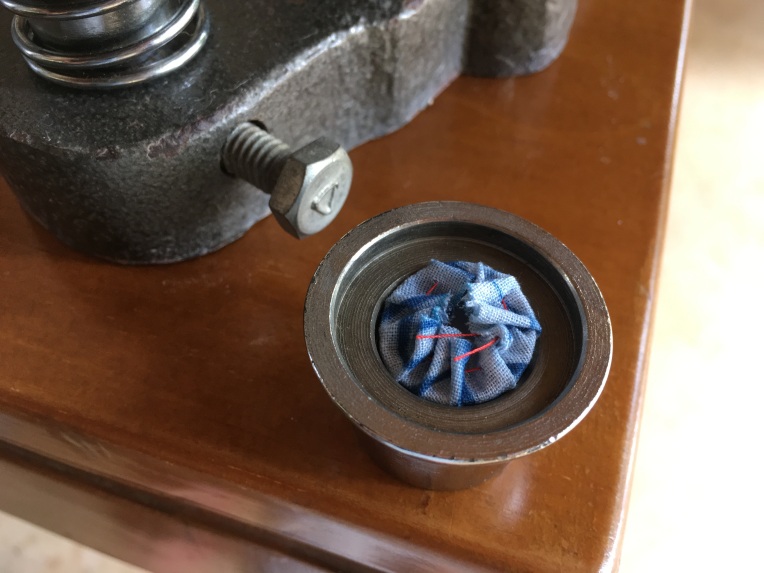
None of them really stuck me as working and so I thought I’d make some buttons from the same cloth. I have a very archaic button maker and three different sizes of button forms.

img_0215

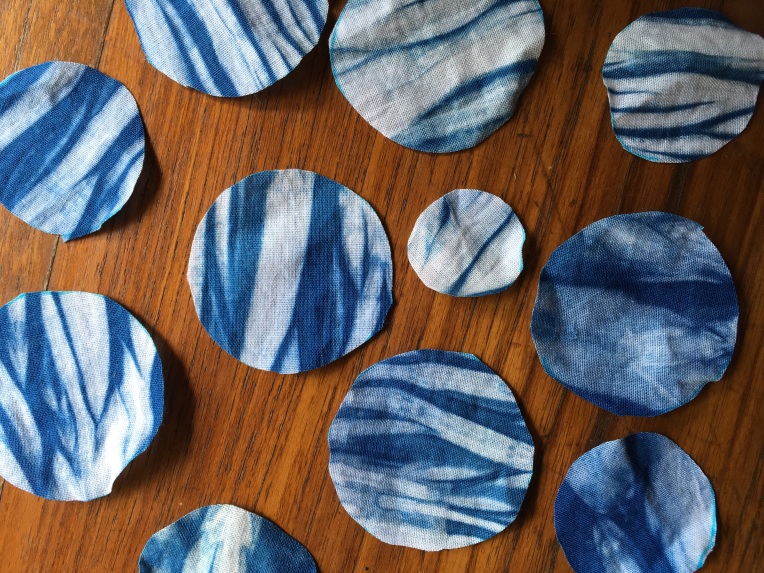
Using a paper template I cut out a variety of each size and along with a friend we sewed around the edge of each shape so as to gather the circle around the button form.

img_0216

I love the process of making buttons, it’s relaxing and always lovely to see what emerges from the button machine. I try to arrange the fabric on the form for the best use of the pattern.
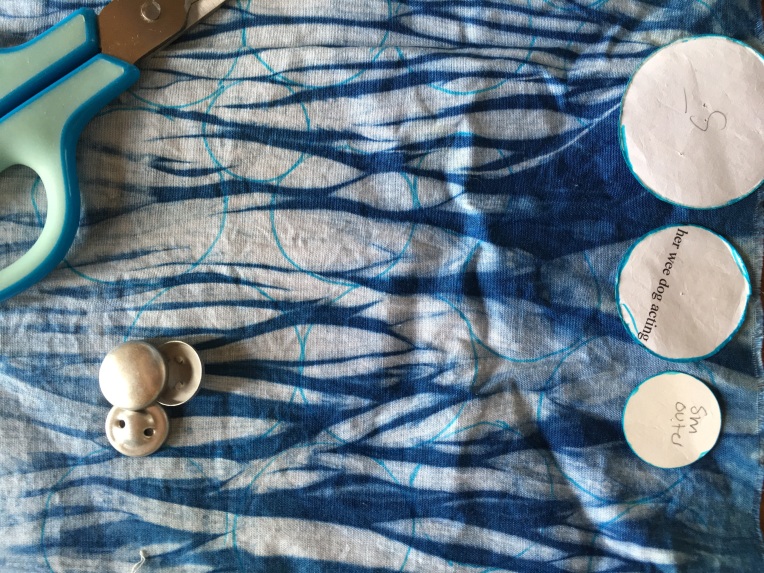
img_0219

And hey presto!

img_0217

img_1219

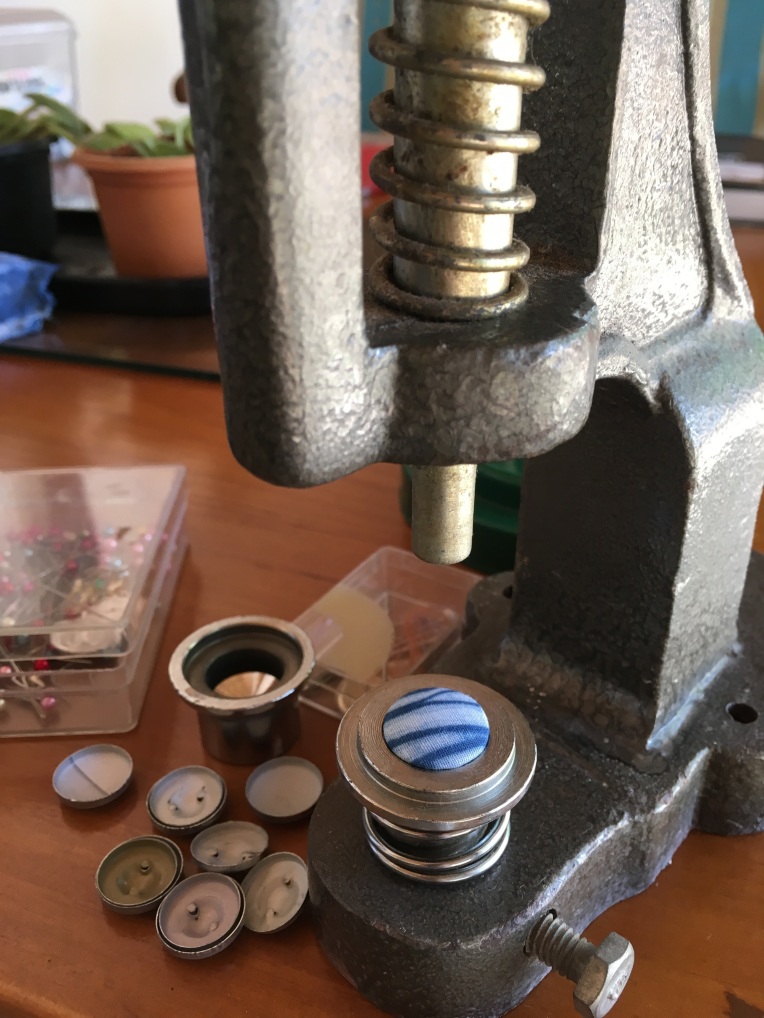
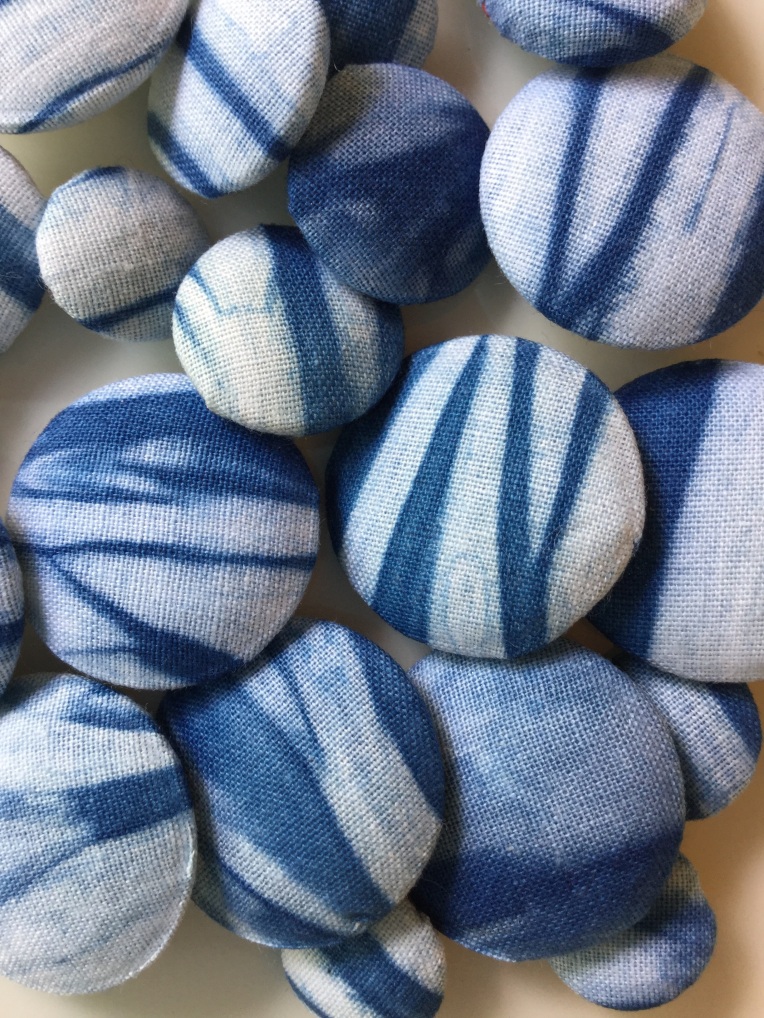
I love the pebble like effect. Sewing them onto the quilt is proving tricky, the holes in the back are not very needle friendly, but I’m getting there and the quilt will soon be finished.

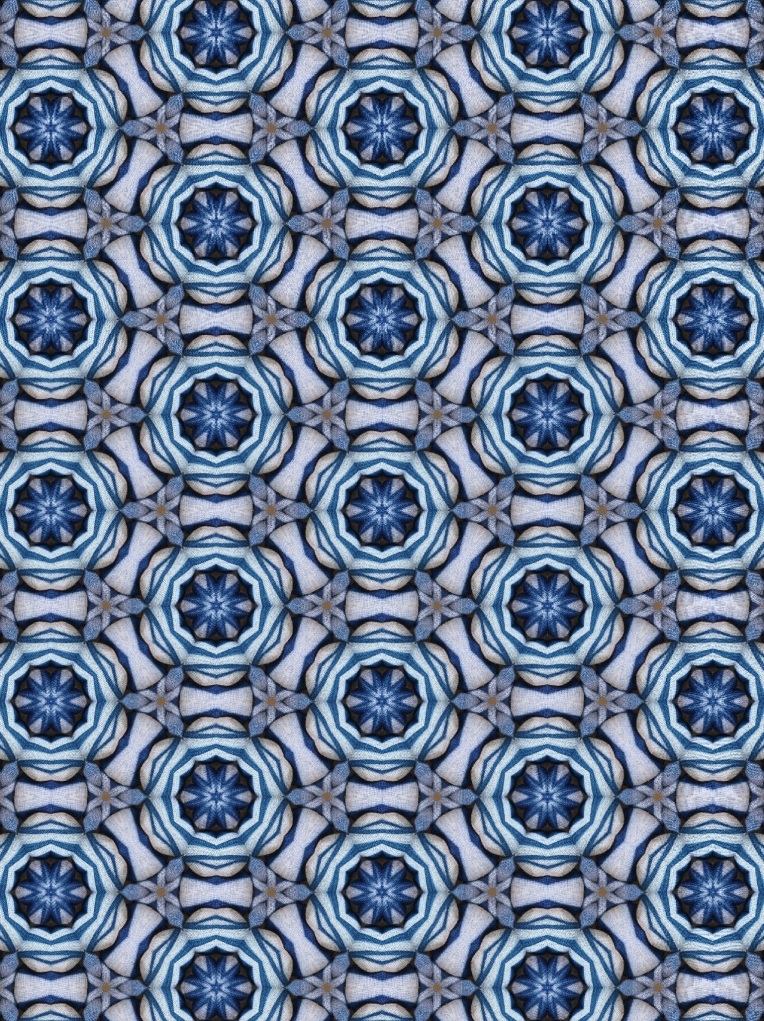
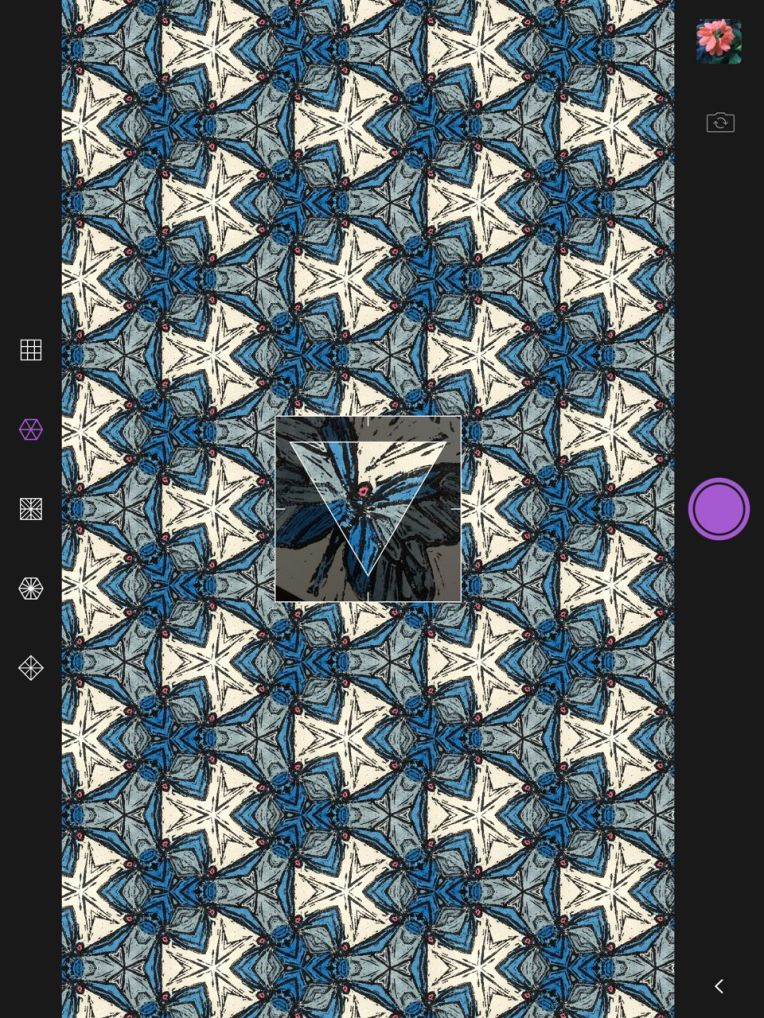
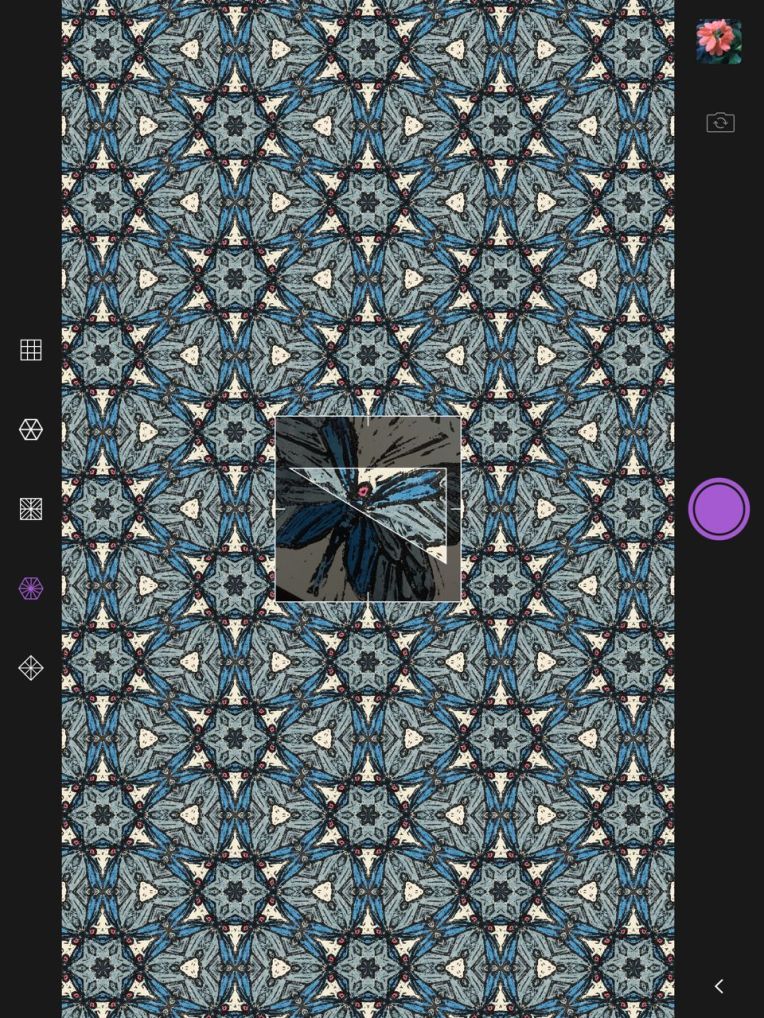
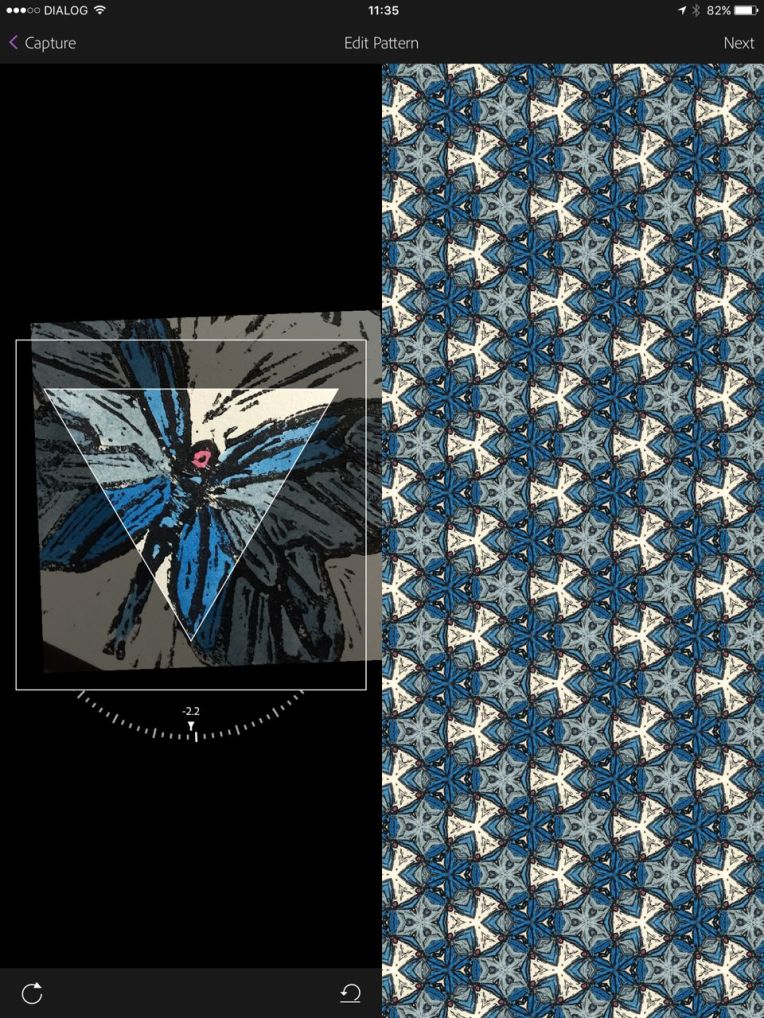
I played around with the photograph of the finished button, and came up with a fun little design.

buttonpattern


Playing with Capture

I’ve recently been playing around with Adobe’s new free app called Capture. On it you can create shapes, colour palettes and patterns using photographs. Making patterns is slightly addictive and I love creating them. They can be very inspiring, and I mostly use them to create texture or to add an interesting background.  I’ve been asked a few times how they are done, so I’ll show you.

I begin by choosing a photograph of my work, here I’ve opted for a block print that I coloured with watercolour.

Blog butterfly

Capture then gives me the option of which part of the photo I’d like captured into a pattern.

IMG_1111

Or

IMG_1113

Or

IMG_1114

Once I decide which option I want to use, I can then move the image around or rotate it.

IMG_1115

This doesn’t have to be done using a piece of art, it works brilliantly with photographs as well. This is bougainvillea in my garden.

IMG_1108

The options are lovely.


If you use Adobe Creative Cloud the patterns will appear in Photoshop on your computer. However, they can also be saved to your photos and used to make cards or printed out for other uses. I often post mine to Instagram.

What creative apps do you use?


I’m back!

Hello! I’m sorry I’ve been away so long, but I’m back, and with a new look to my blog. It’s been a year, actually a year and a bit, so I thought I’d start by giving you a bit of overview of the last 12 months or so.

The biggest thing that happened, and probably the main cause for my lack of blogging,  was that we moved. This turned into a long and protracted event, but we are finally well settled. The colour of my world has changed, and it’s lovely and very inspiring here.

lakeview

It almost looks like Scotland but it’s Sri Lanka! Along with this view I also have lots of flora and fauna to entertain and inspire, including giant squirrels which I love.

My design plans went rather quiet last year, with a couple of plans collapsing and possible opportunities coming to nothing, However, I did keep drawing and painting and I did an excellent course with Sherry London called No-Fail Seamless Repeats, which was fun but also made Photoshop seem less of a monster lurking in my computer.

A fair bit of indigo dyeing has been done as well. The circular indigo is a digitalised indigo pattern from a scanned piece of cloth, and very exciting to make.

Some exploring has been done, though not by everyone!


I’ll be back again soon!

IMG_0553

A Slope of Inspiration

Behind the kitchen we have a slope, the remains of where the building plot was cut out of the land.  It looks rather mundane and uninteresting, but I absolutely love this slope. It’s packed with unusual (weeds) vegetation, creepy-crawlies and other visitors. From the kitchen window I can watch birds and lizards foraging and have spotted the occasional snake.

The Kitchen Slope

However, best of all is to go out there with a camera, usually with a macro lens on, and find inspiration.

Colourful creepy-crawlie

Tiny flower

Some things are tiny, like this flower, but they’ll appear larger in my designs.

Ferns

The choice of greens is a treat.

Leaf Shapes

Even the dead and dying are of interest.

Dead Leaf

Seedhead

Some visitors stop for a second.

Butterfly

Others forage for a meal like this monitor lizard.

Monitor Lizard

And others are so delicate and jewel-like you could wear them!

Forest Lizard

And of course there are always lots of interesting smells and things that need checking out by Toni.

Toni

When she’s not resting!

Butterfly Showcase for World Lupus Day

Dawn, over at Nice and Fancy, gave a call for submissions of drawings, designs and paintings of butterflies for a showcase in support of World Lupus day to increase awareness for the disease.  I am often painting butterflies and have submitted one of mine.

BFL_chiaradiack

The showcases are now up on her blog, and also include a charming children’s section. Do go over and have a look. You can also click on the links to the Pinterest sites. Nice and Fancy

Submission by Adults on Pinterest

Submission by Children on Pinterest

If you’re on Pinterest and would like to follow me I’m here Chiara Diack

More adventures with dye

TinTin and I had another dye session last week, experimenting with different leaves, but we also broadened the subject matter, to include flowers, and added techniques – flower pounding and paste resist.

I used some of the cloth I dyed with onion skins to over dye with indigo, with some quite striking designs.

Folded and clamped with a plastic bulldog clip .

I also did a little more stitch resist, and am happy with this result

Stitch resist on indigo

Played around with pleating and clamping

Blog4Blog9

TinTin used a frangipani leaf as a resist and the result is beautiful, go to her lovely blog for a look PapayaLime

We made up bundles using a variety of leaves, and the most successful were rose leaves and Indian almond tree leaves, but we only left the bundles for one day, and I think next time we’ll try a week – or even 2!

Blog10Blog7

Then we moved on to flower pounding, a Japanese technique called Hapa-zome. This was great fun and highly effective. We used cloth that had been pre-mordanted in alum.

Blog11
TinTin’s colourful results which included marigold flowers

Softer, fleshier leaves and petals worked best. We sandwiched them between cloth and pounded using a rubber mallet on a pile of newspaper. You can see a small 15 sec video of TinTin pounding this on my Instagram page https://instagram.com/chiaradiack/

The cloth was then steamed for an hour and washed. We lost some of the colour, but on the whole the results were quite exciting.

Blog13

Blog12
The pounded leaves
Love the detail of the veins.

Then finally we worked with a paste resist and indigo. The paste is made of plain flour and water boiled up to a thick, gloopy paste, then a tiny bit of caustic soda is added, with continued cooking the paste turns honey coloured and extremely gluey. We smeared this on cloth, and etched into it, but also dipped feathers and leaves in it and pressed them onto the cloth. The cloth then had to dry as crisp as a biscuit before quick dips into the indigo vat. More skill is required with this technique!

Paste resist feathers

Now it’s time for me to scrub clean my blue hands and feet and get back to some drawing and painting.

Bog8

Dyeing with onion skins.

Along with trying out dyeing with eucalyptus leaves, I also experimented with onion skins. The colour obtained from onions does not have good colourfast properties, but with careful washing and protecting from the sun, the colours can be protected quite well. We’ve been saving onion skins for a while, you need a lot, but the local shopkeeper gave us all his loose skins from the onion bucket – a big help!

onions6I was excited to find out what colour these beautiful pink skins would yield. Most of the skins went into an aluminium pan and were covered with water and brought to the boil for 45 minutes, then I strained the liquid, discarded the skins which were now leached of colour, and returned the dye to the heat with some alum mordanted silk and cottons. The remaining few onion skins I laid out on scraps of cloth mordanted with alum and soaked in sea water so they were damp.

onions7

Then I bundled the cloth up and wrapped it tightly with string and elastic bands. These I steamed for 1 hour.

onions2

The fabrics came out beautifully, or sort of greeny gold, and the silk in particular was lovely. The bundles yielded amazing colour, with traces of maroon in the greens, golds and yellows, this certainly needs more experimenting.

onion1

I also played with a mango leaf, again this was bundled, and I think could have been more spectacular if I had left the bundle intact for longer.

onions3

I am told rose leaves make good eco-prints, so will try them out. I have also gathered some jackfruit tree leaves and some Indian almond leaves. So the testing will continue.

Dyeing with eucalyptus leaves

My experiments dyeing with eucalyptus leaves were partly disappointing and partly very exciting. I pre-mordanted the cloth with alum, and then also dipped the cloth in sea-water for eco-printing, this is a mordant that India Flint recommends.

I kept a few eucalyptus leaves for bundling to make eco-prints, laying them on sea-water dampened cloth. I bundled them up securing them with string and elastic bands, and then I steamed them for about an hour and half. Left them to cool.

Beucalyptuslayer

Bbundles

The remaining leaves I chopped up, covered with water in an earthenware pot and brought to the boil. Then simmered for an hour. The smell was amazing, very therapeutic.

Beucalyptusbowl

The resulting liquid dye was disappointingly pale.

Beucalyptusdye

I then strained out the leaves (good for compost!) and added some cloth, cotton and silk, and left it at just a simmer for an hour. The result was a pale grey/gold. I think perhaps next time I should use a lot more leaves, and extract the dye for longer than an hour and leave the cloth in the dye to cool.

Beucalypytusdyed

The eco-prints were much more successful, though again, I think leaving them bundled for longer might make a stronger print.

Beucalyptus leaf

Beucalyptus leaves

Beucalyptusleaves2

Now I’m off to search for more eucalyptus leaves. If you’d like to see some amazing eco-prints have a look at Lotte Helleberg’s blog – such beautiful work.